こんにちは(^^♪
今回は時計キットで簡単につくれるオリジナル時計の作り方をご紹介いたします。
![](https://sunwardshop.com/apps/note/wp-content/uploads/2022/07/771492_34.jpg)
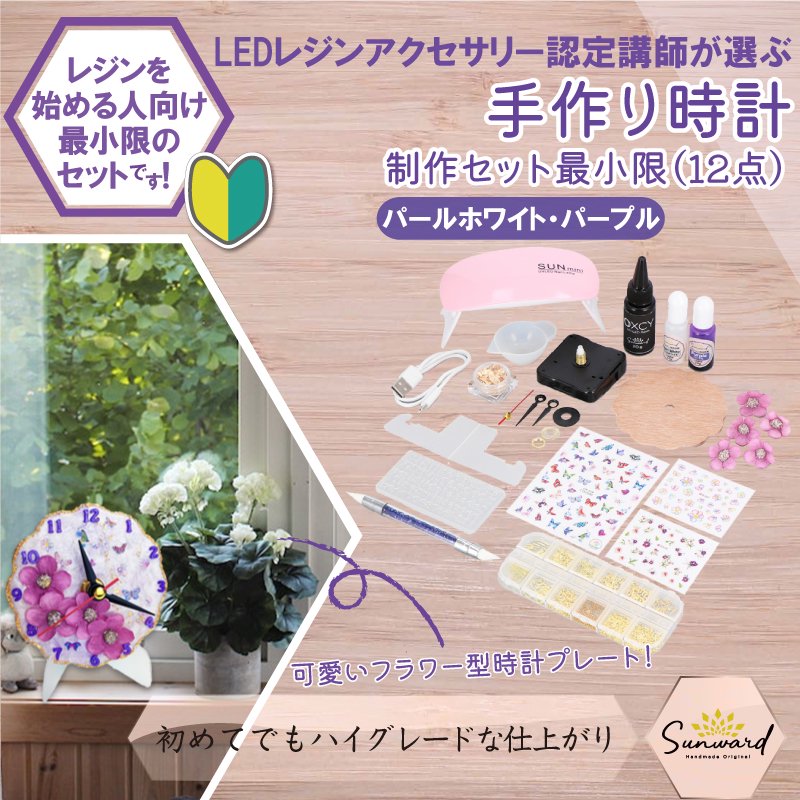
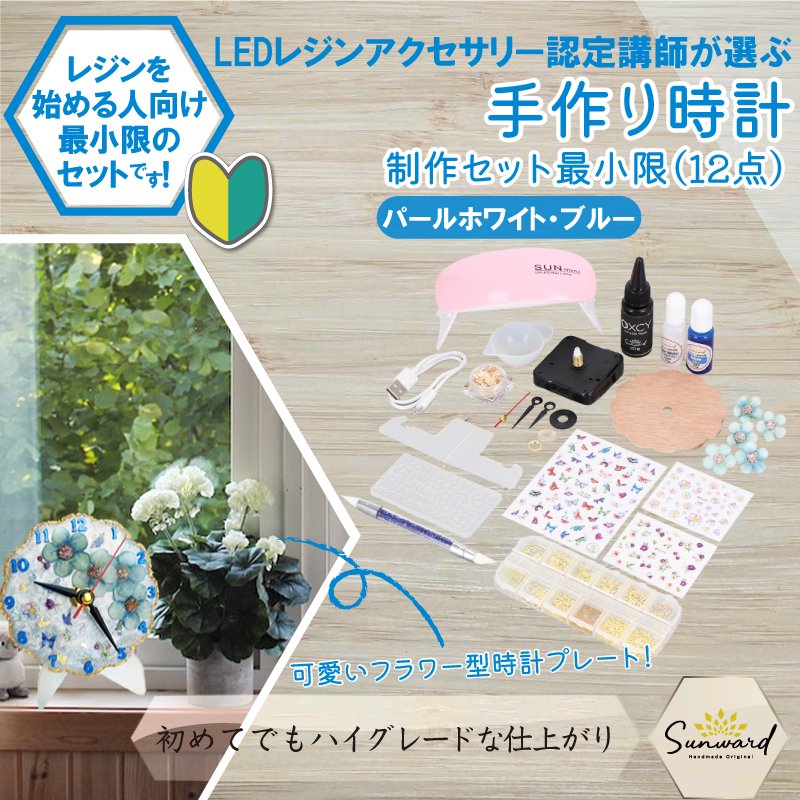
こちらの時計キットはパープル系、ピンク系、ブルー系の3種類ございます。
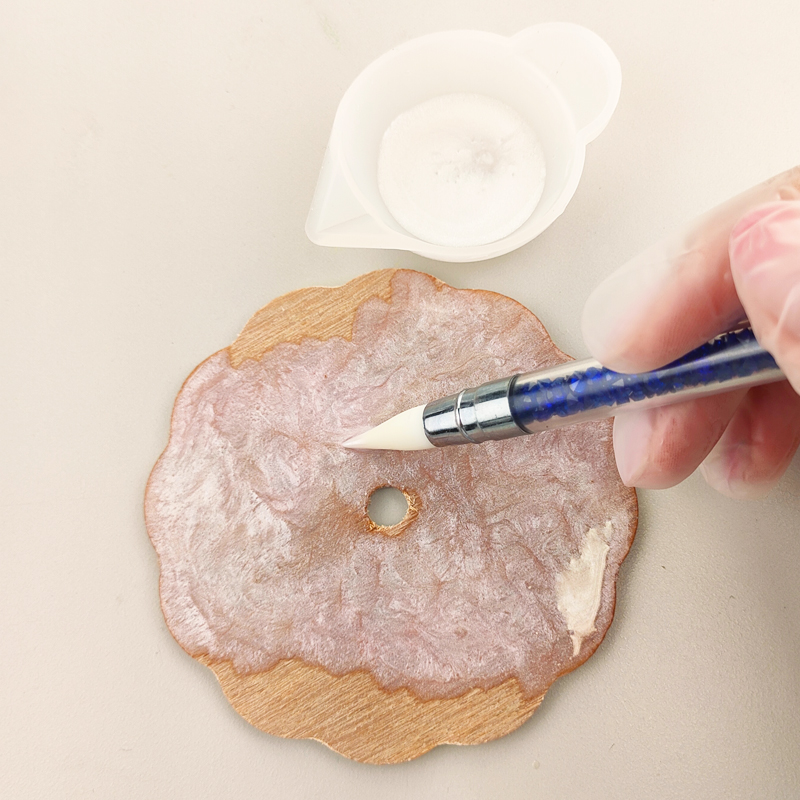
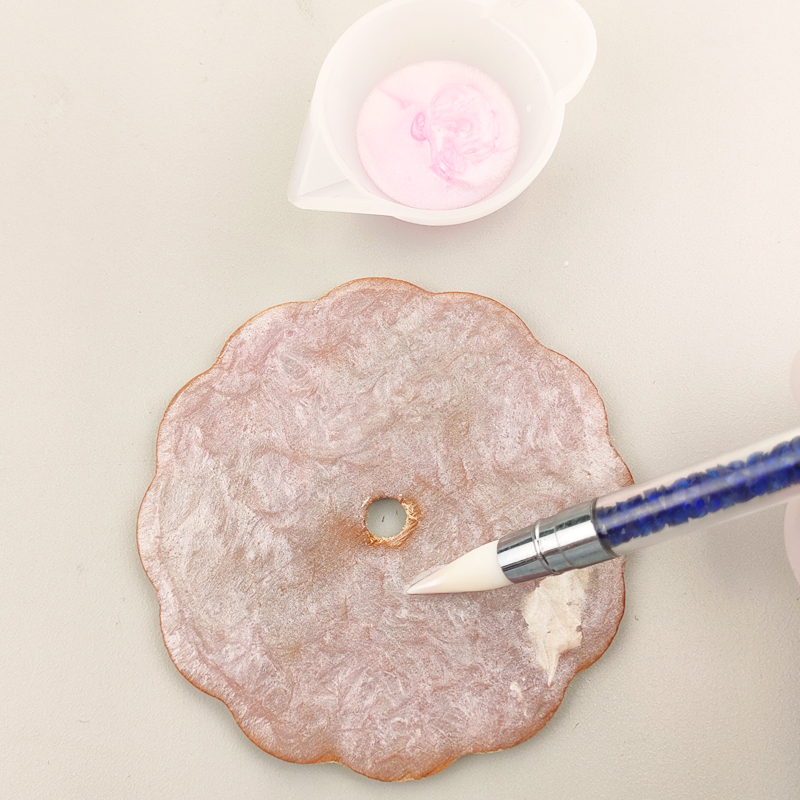
①プレートをつくる
初めに、プレートに着色剤ピンク、ホワイトで着色したUVレジンをシリコンブラシを使って塗っていきます。
![](https://sunwardshop.com/apps/note/wp-content/uploads/2022/07/771492_01.jpg)
![](https://sunwardshop.com/apps/note/wp-content/uploads/2022/07/771492_02.jpg)
![](https://sunwardshop.com/apps/note/wp-content/uploads/2022/07/771492_03-1.jpg)
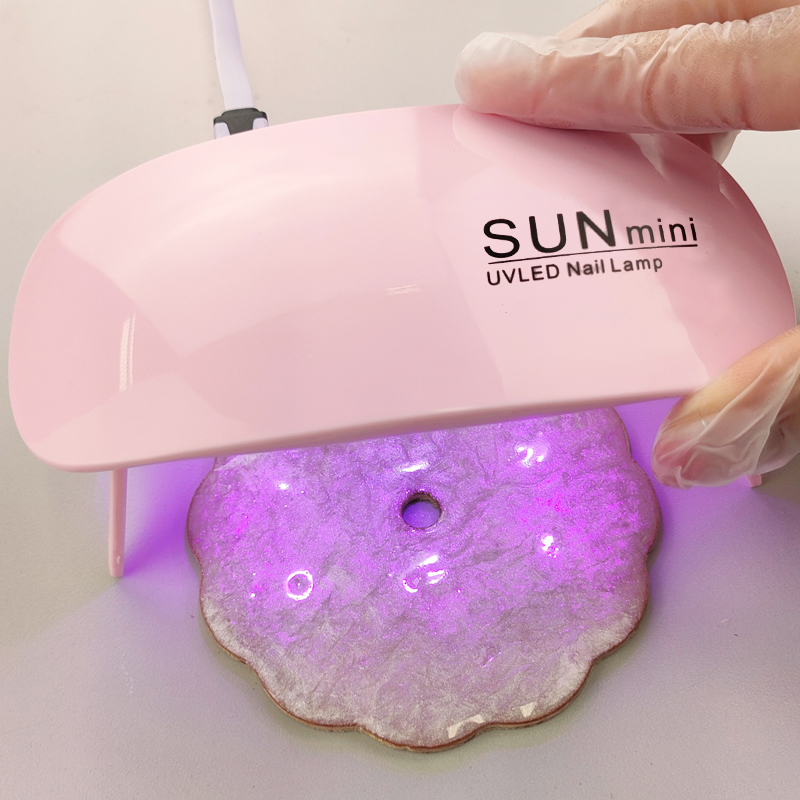
SUN mini UV-LED Lightでベタつきがなくなるまで硬化します。
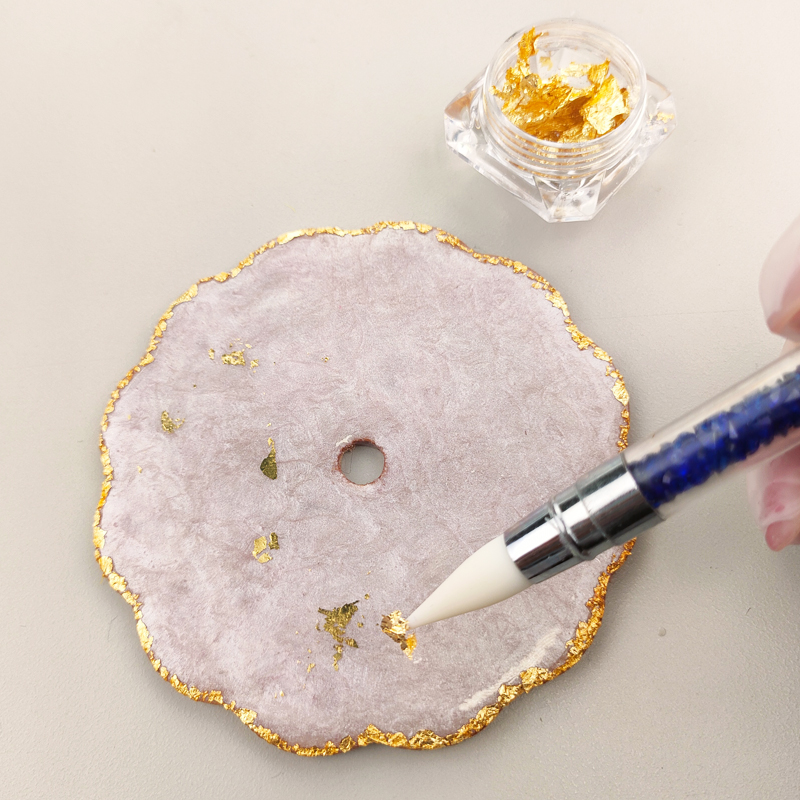
OXCY UV-LED Resinをブラシで少量取ってプレートの淵に塗ります。UVレジンを塗って、ホイルを置いての繰り返しをします。
![](https://sunwardshop.com/apps/note/wp-content/uploads/2022/07/771492_06.jpg)
![](https://sunwardshop.com/apps/note/wp-content/uploads/2022/07/771492_07.jpg)
![](https://sunwardshop.com/apps/note/wp-content/uploads/2022/07/771492_08-1.jpg)
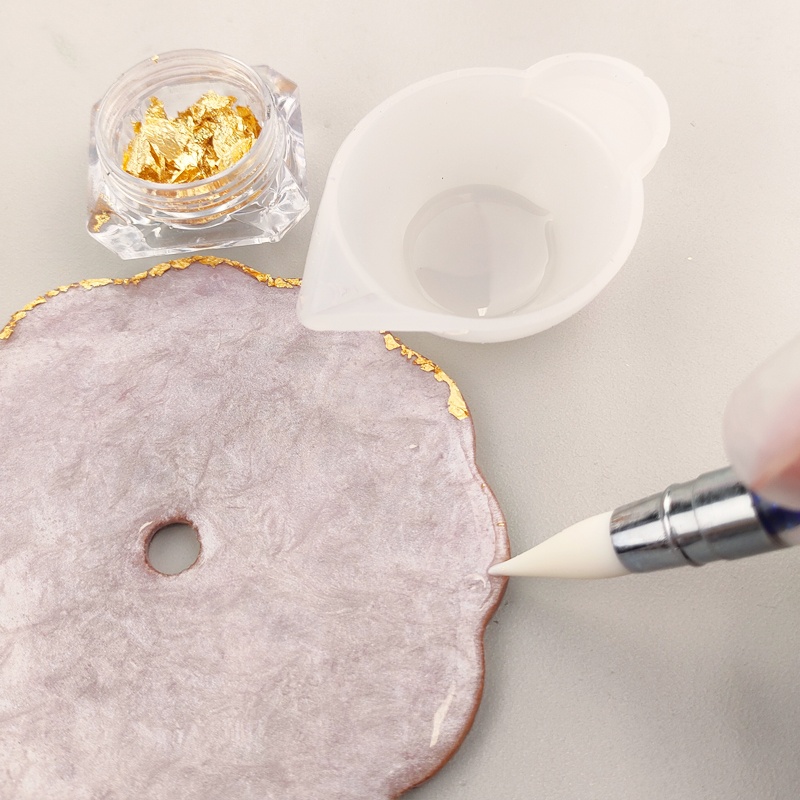
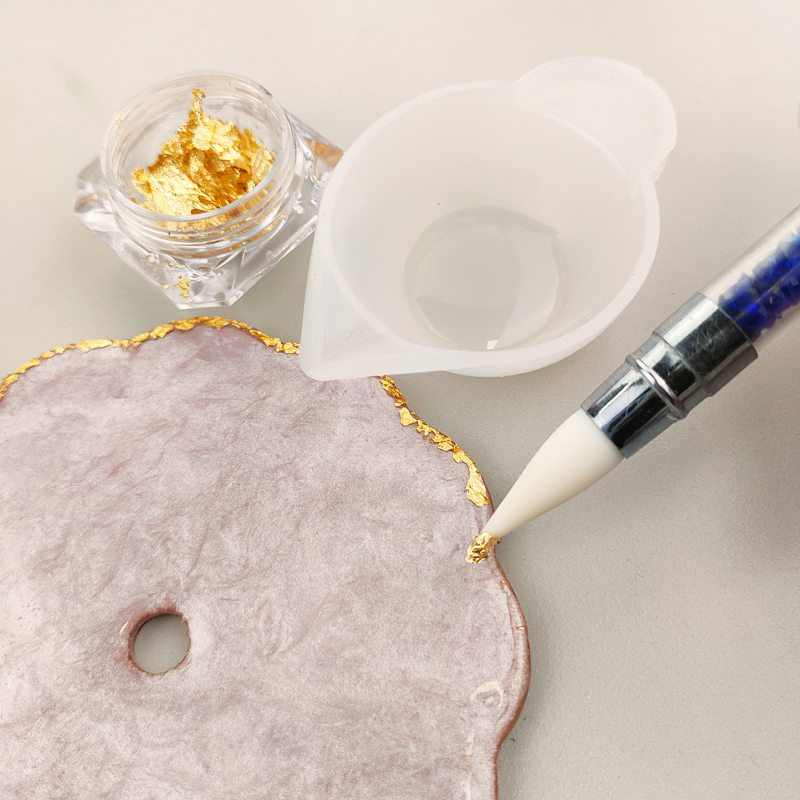
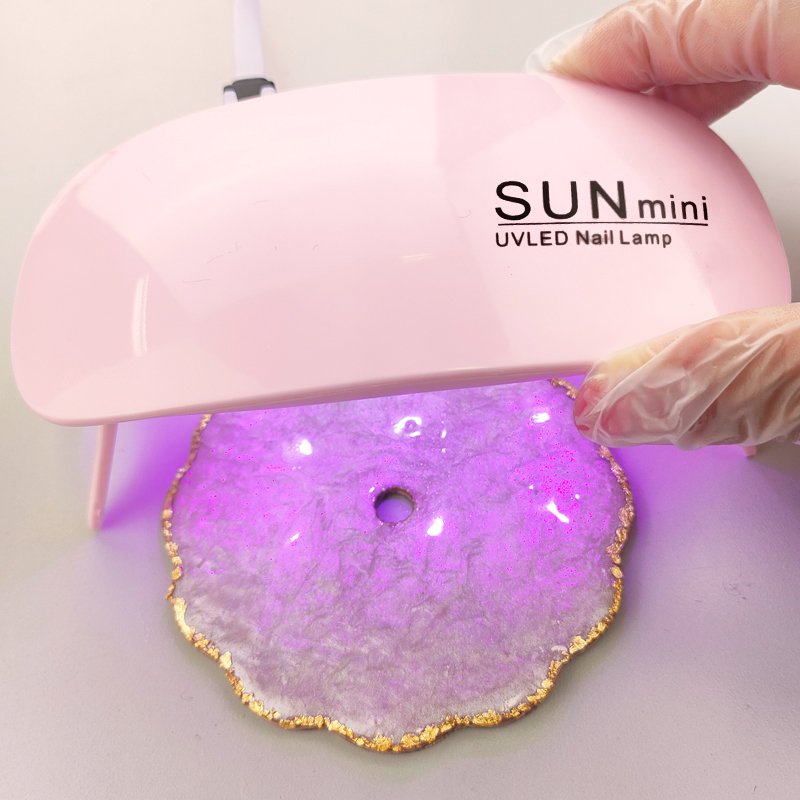
SUN mini UV-LED Lightでプレートの淵についたホイルがしっかり固まるまで硬化します。
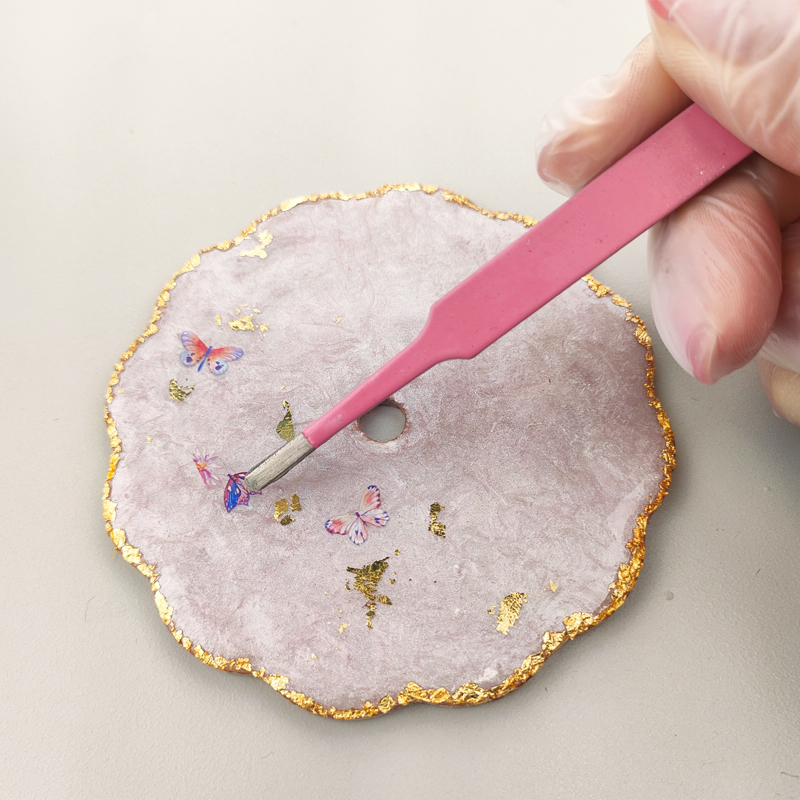
ホイルやステッカーを好きな場所に貼ります。※ステッカーを台紙からとるときは先の尖った竹串やつまようじ等がおすすめです😊
![](https://sunwardshop.com/apps/note/wp-content/uploads/2022/07/771492_09.jpg)
![](https://sunwardshop.com/apps/note/wp-content/uploads/2022/07/771492_10.jpg)
![](https://sunwardshop.com/apps/note/wp-content/uploads/2022/07/771492_11-1.jpg)
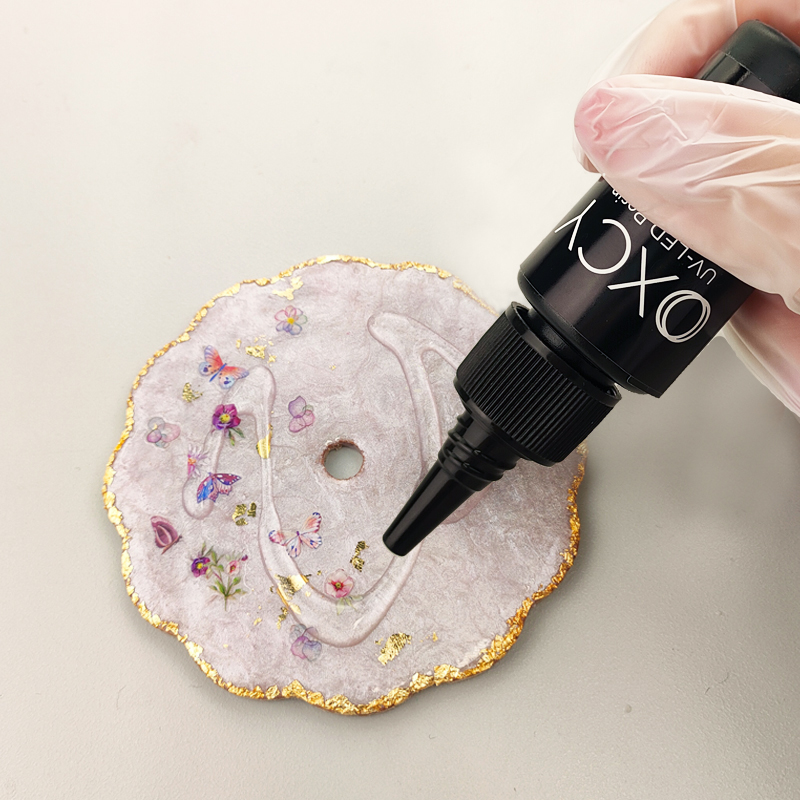
OXCY UV-LED Resinを表面に塗ります。
![](https://sunwardshop.com/apps/note/wp-content/uploads/2022/07/771492_12.jpg)
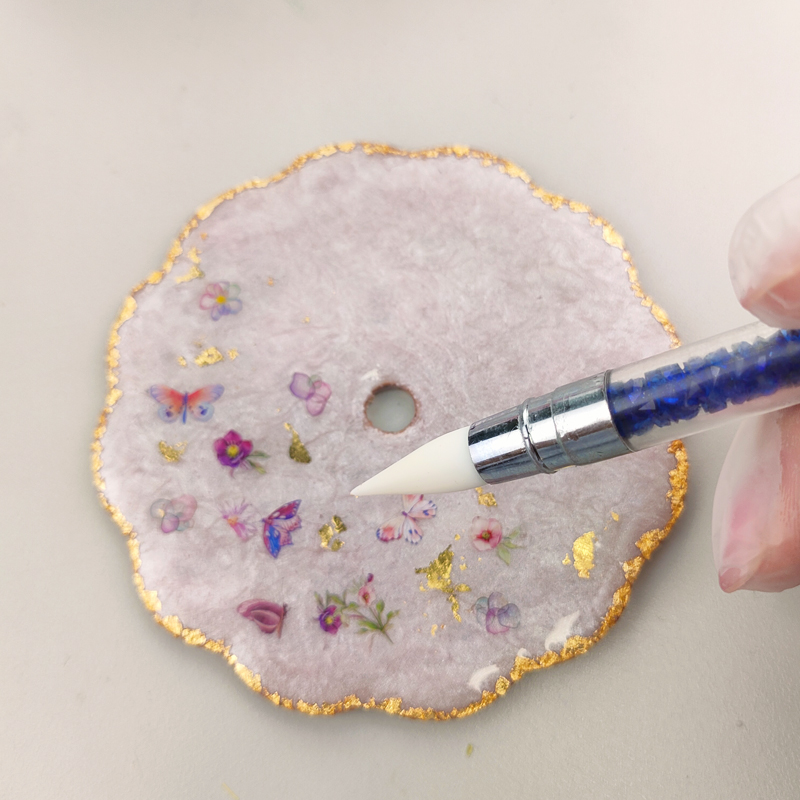
シリコンブラシを使って薄く塗り広げます。
![](https://sunwardshop.com/apps/note/wp-content/uploads/2022/07/771492_13-1.jpg)
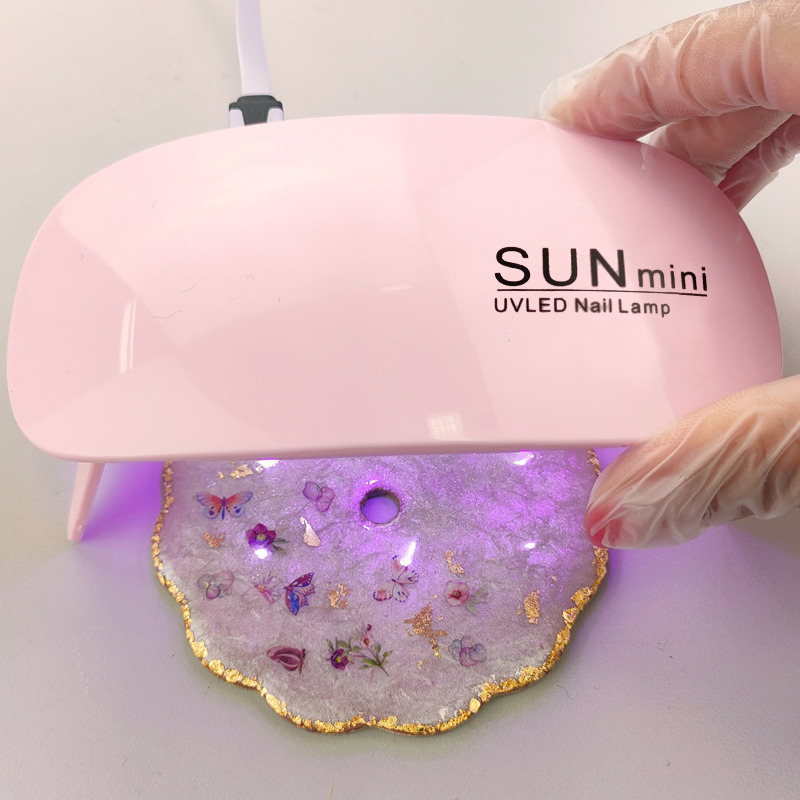
SUN mini UV-LED Lightでしっかりと硬化します。
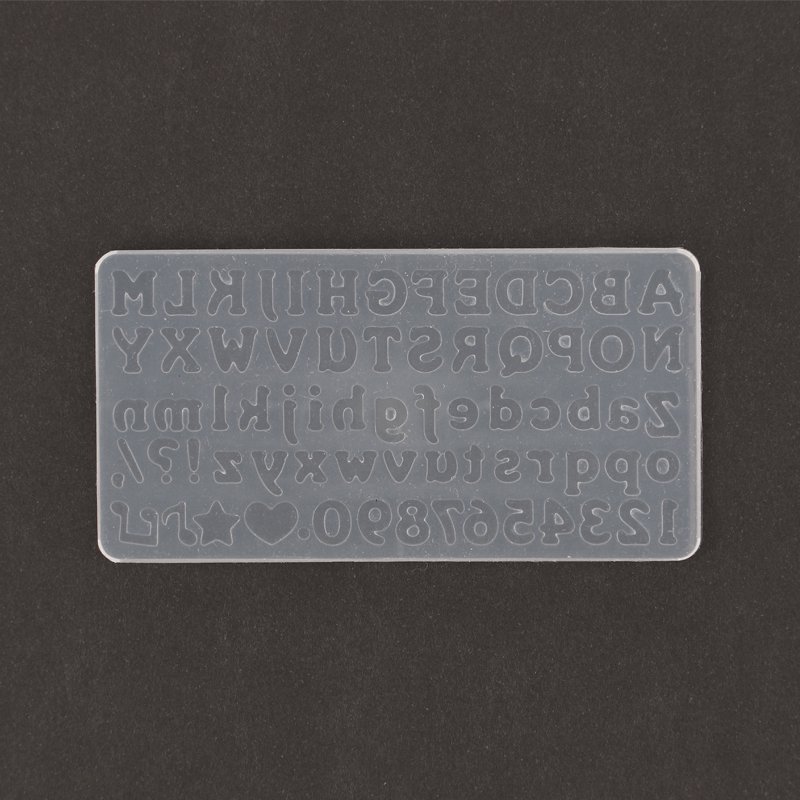
②数字を付ける
シリコンモールド・フォントAセットを使って、1~12までの数字をつくります。
![](https://sunwardshop.com/apps/note/wp-content/uploads/2022/07/771492_04.jpg)
![](https://sunwardshop.com/apps/note/wp-content/uploads/2022/07/771492_05-1.jpg)
![](https://sunwardshop.com/apps/note/wp-content/uploads/2022/07/771492_14.jpg)
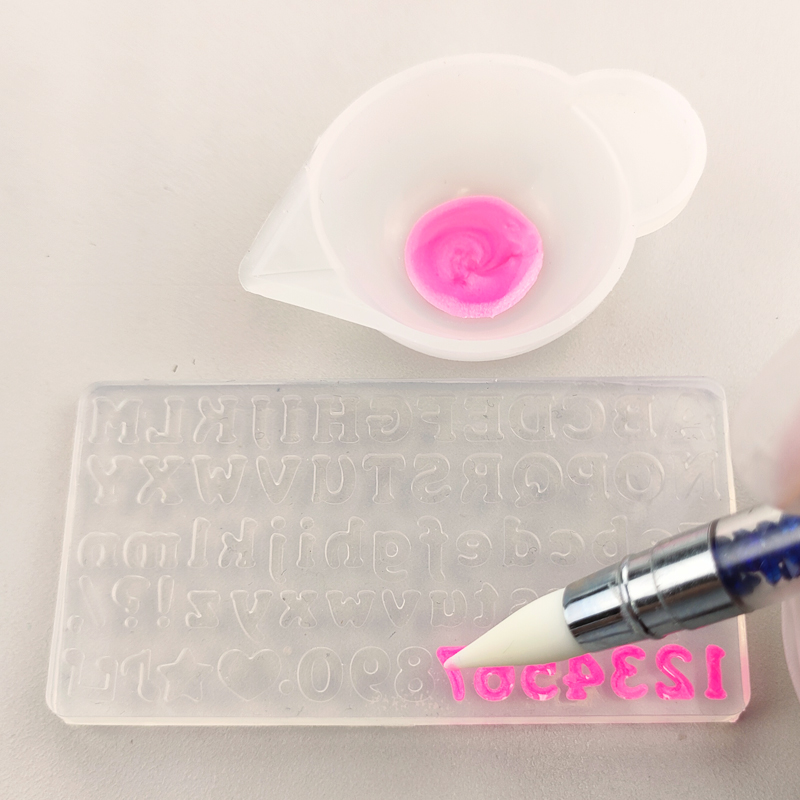
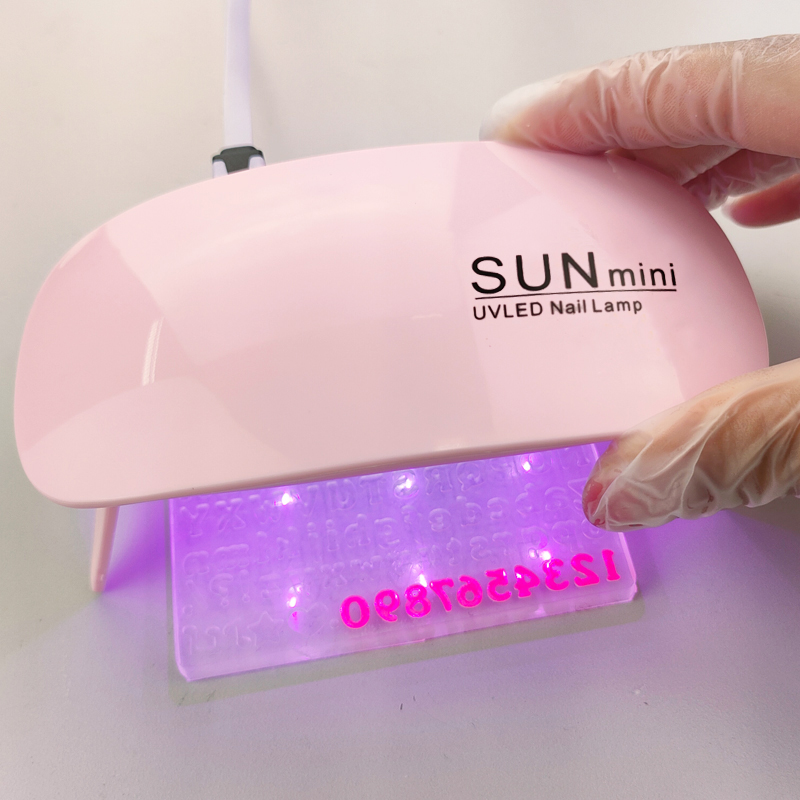
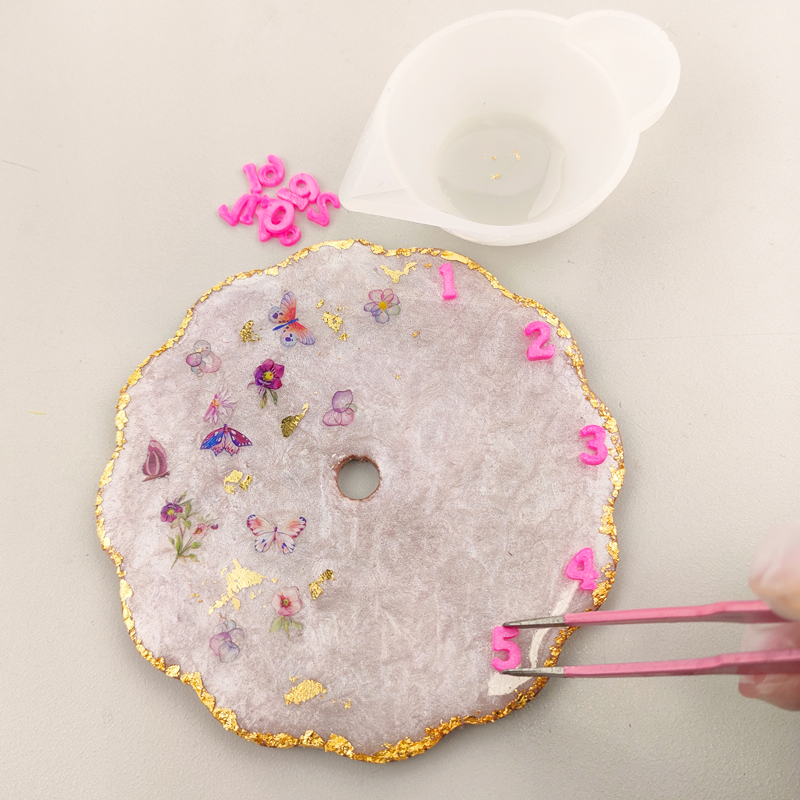
数字パーツの裏面にUVレジンを塗って1~12まで順番に置きます。
![](https://sunwardshop.com/apps/note/wp-content/uploads/2022/07/771492_15-1.jpg)
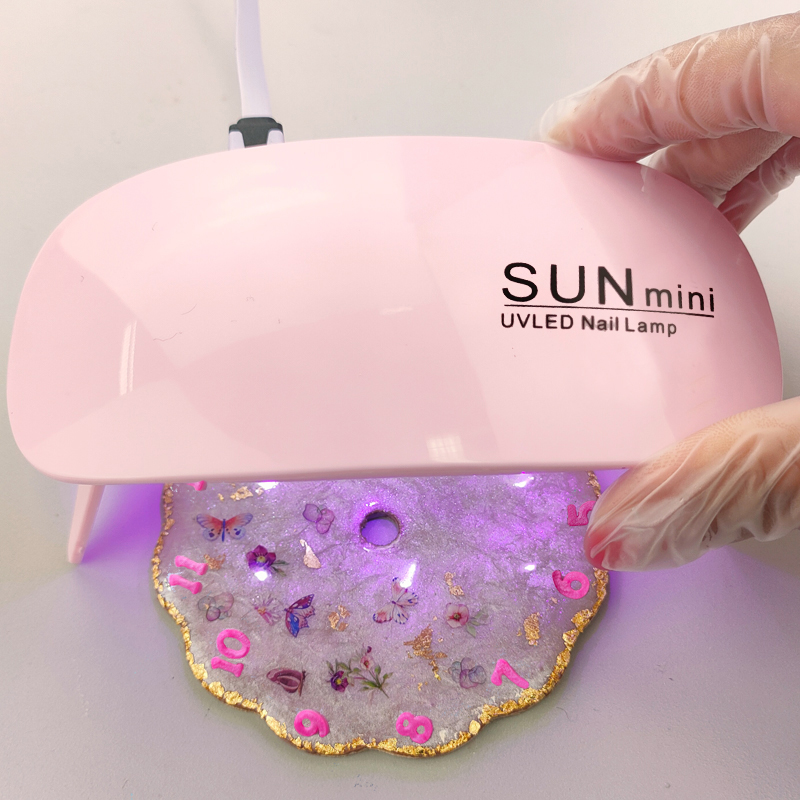
SUN mini UV-LED Lightで数字が動かなくなるまでしっかり硬化します。
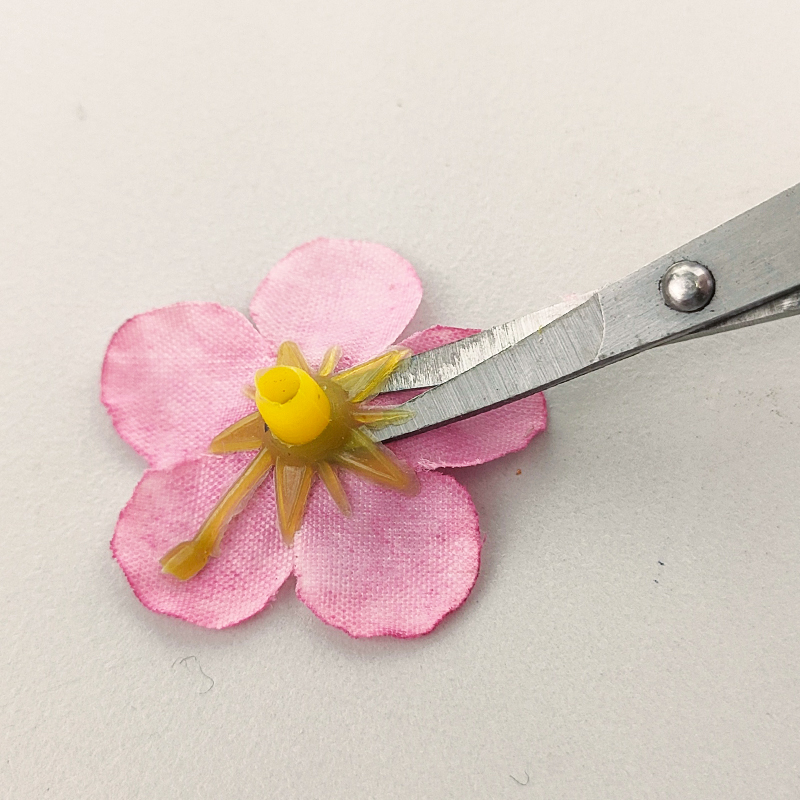
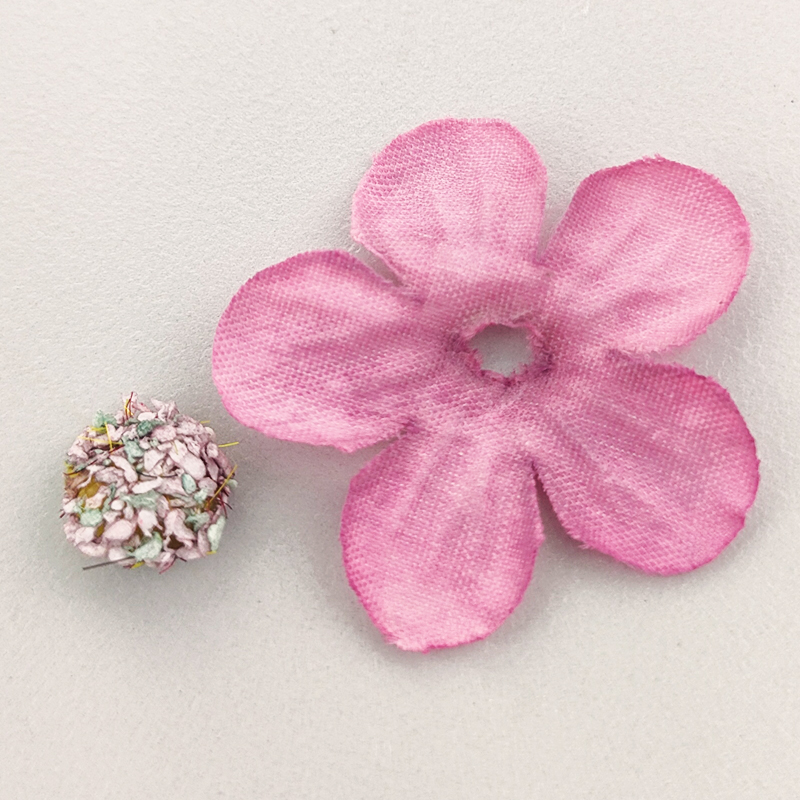
③お花を付ける
アートフラワーの裏についている茎をハサミで切り落として分解させます。
![](https://sunwardshop.com/apps/note/wp-content/uploads/2022/07/771492_16.jpg)
![](https://sunwardshop.com/apps/note/wp-content/uploads/2022/07/771492_17.jpg)
![](https://sunwardshop.com/apps/note/wp-content/uploads/2022/07/771492_18-1.jpg)
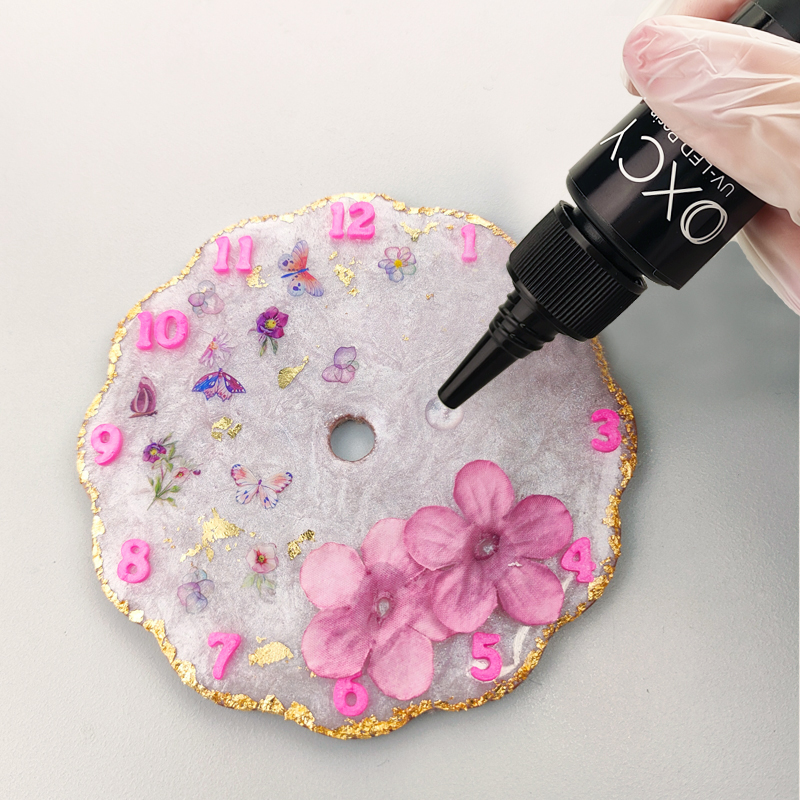
プレートにOXCY UV-LED Resinを流します。
![](https://sunwardshop.com/apps/note/wp-content/uploads/2022/07/771492_19.jpg)
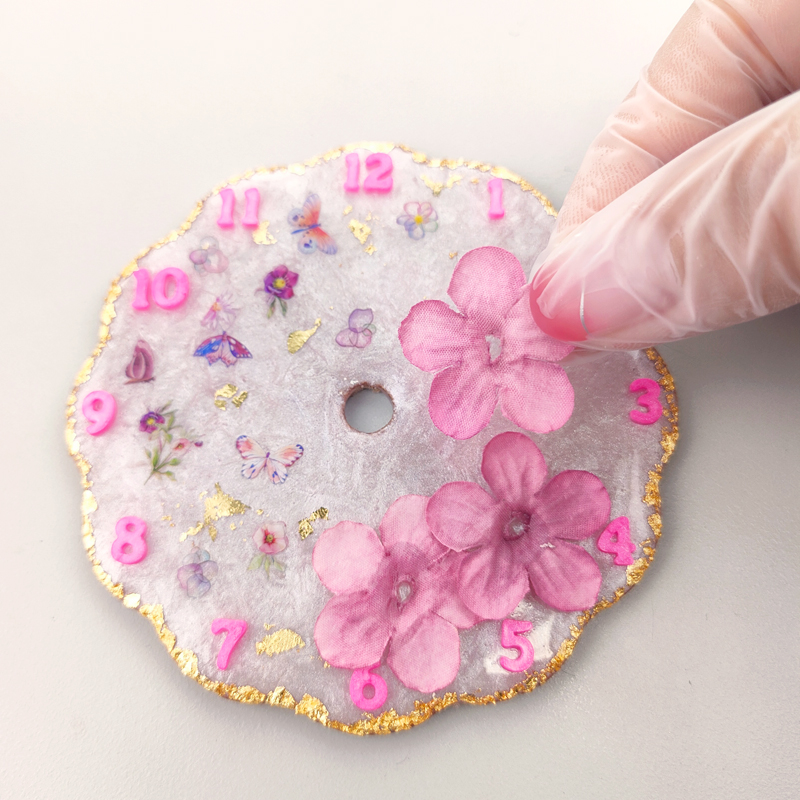
アートフラワーをUVレジンを置いた場所に置きます。
これで一度SUN mini UV-LED Lightで硬化させます。
![](https://sunwardshop.com/apps/note/wp-content/uploads/2022/07/771492_20-1.jpg)
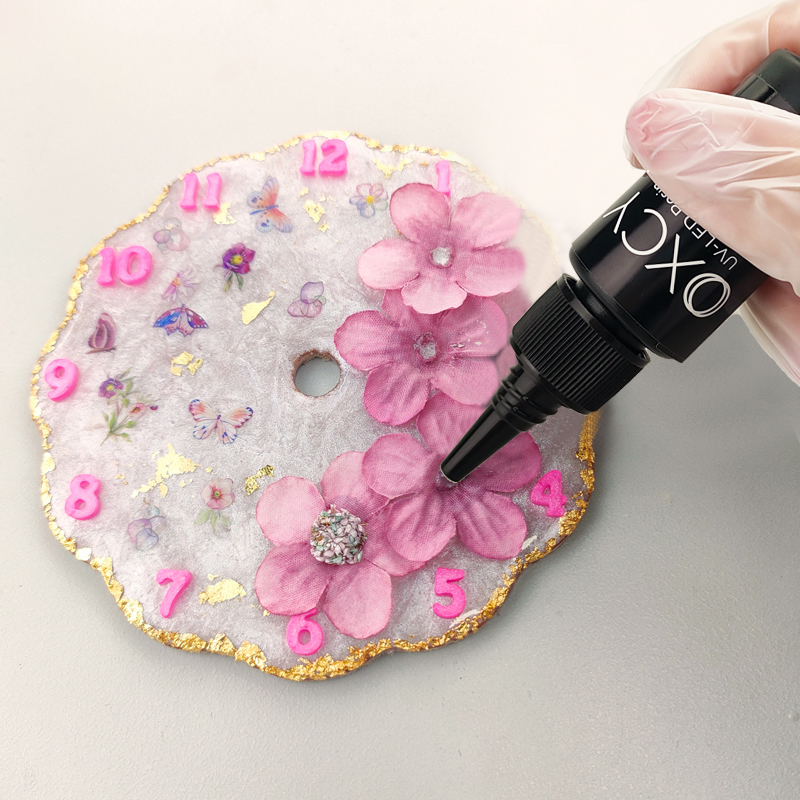
硬化後、アートフラワーの中心にOXCY UV-LED Resinを流します。
![](https://sunwardshop.com/apps/note/wp-content/uploads/2022/07/771492_21.jpg)
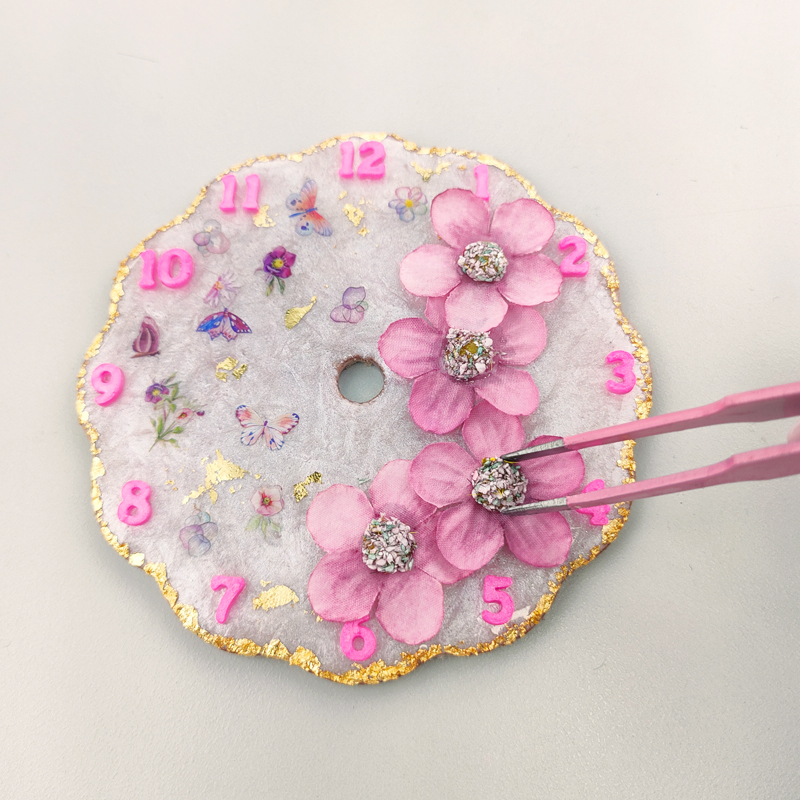
先程分解したアートフラワーの中心部分を置きます。
![](https://sunwardshop.com/apps/note/wp-content/uploads/2022/07/771492_22-1.jpg)
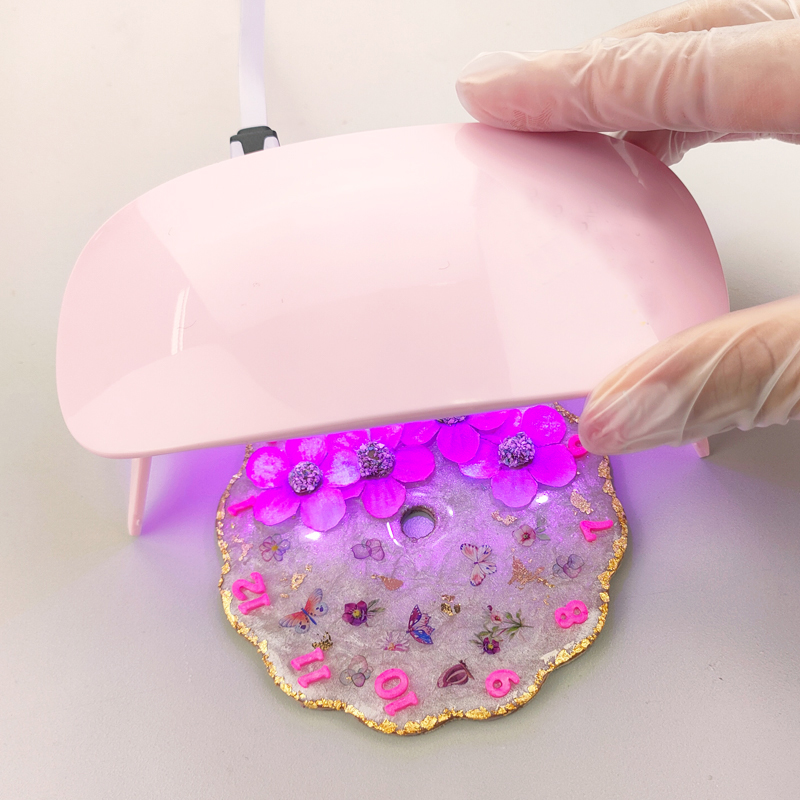
SUN mini UV-LED Lightでアートフラワーがしっかり固定されるまで硬化します。
④時計本体を付ける
![](https://sunwardshop.com/apps/note/wp-content/uploads/2022/07/771492_23.jpg)
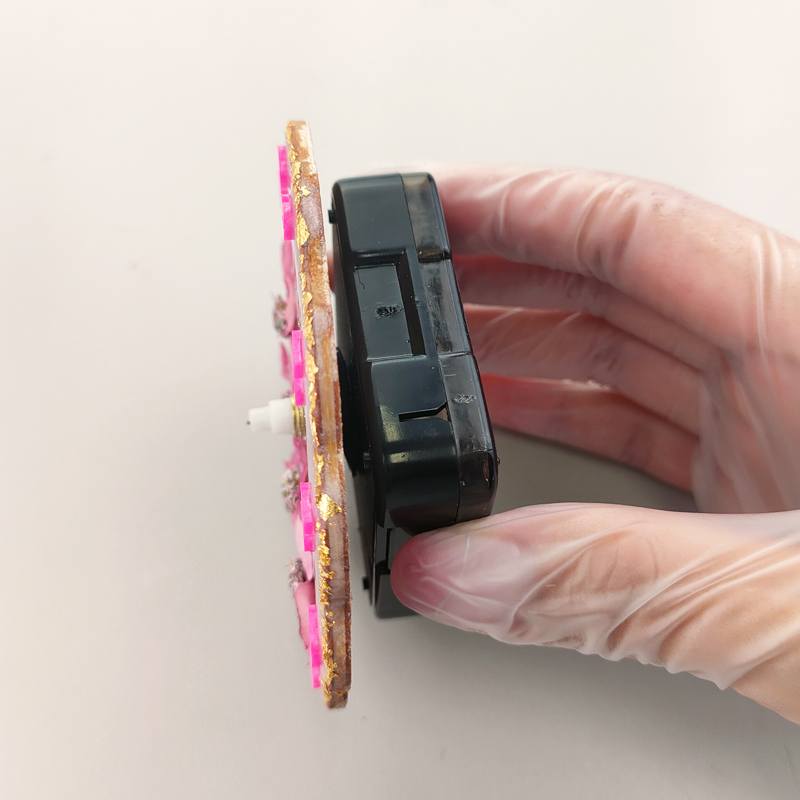
黒のゴムを取り付けた後、プレートを取り付けます。
プレートを時計まわりに回して黒のゴムにぴったりと付くまで入れます。
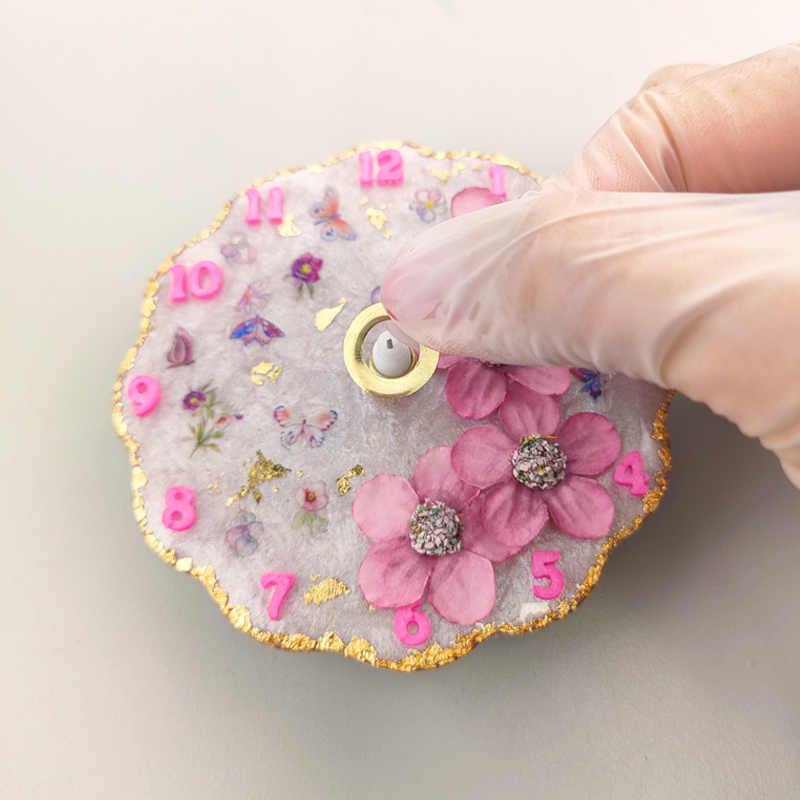
![](https://sunwardshop.com/apps/note/wp-content/uploads/2022/07/771492_24.jpg)
ドーナツ状の金具を付けます。
![](https://sunwardshop.com/apps/note/wp-content/uploads/2022/07/771492_25.jpg)
![](https://sunwardshop.com/apps/note/wp-content/uploads/2022/07/771492_26.jpg)
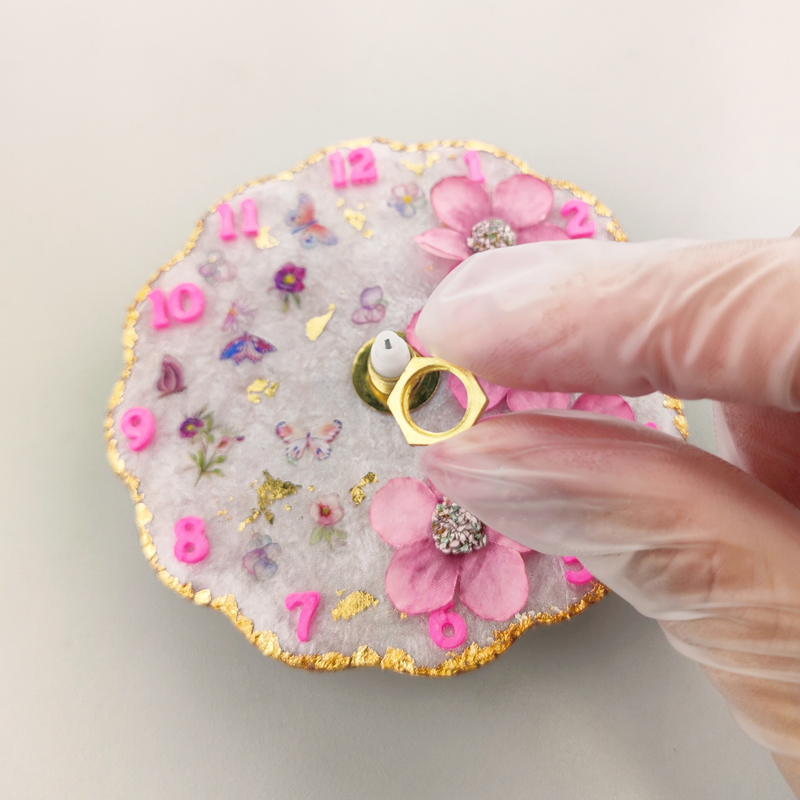
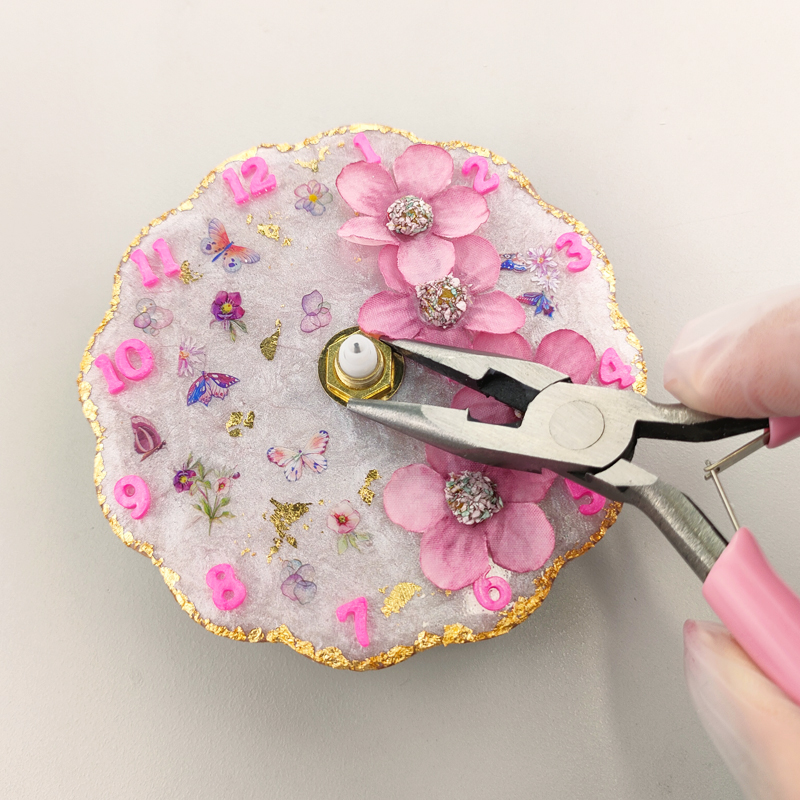
六角形の金具を付けます。※ペンチなどでしっかり回して固定しましょう。
![](https://sunwardshop.com/apps/note/wp-content/uploads/2022/07/771492_27.jpg)
![](https://sunwardshop.com/apps/note/wp-content/uploads/2022/07/771492_29.jpg)
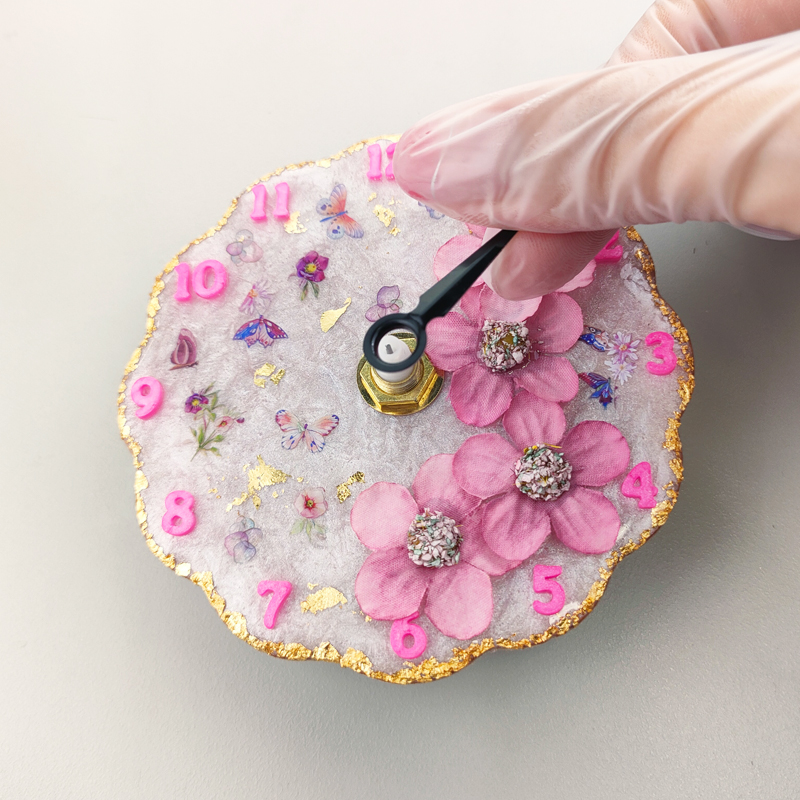
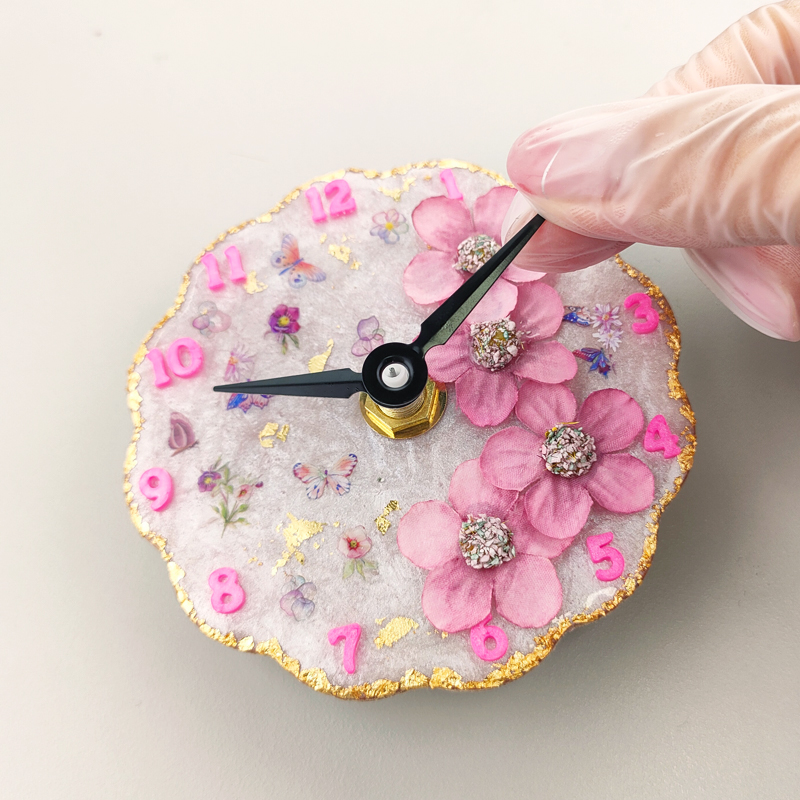
時針(短い針)⇒分針(長い針)の順番で時計の針を付けます。
![](https://sunwardshop.com/apps/note/wp-content/uploads/2022/07/771492_30.jpg)
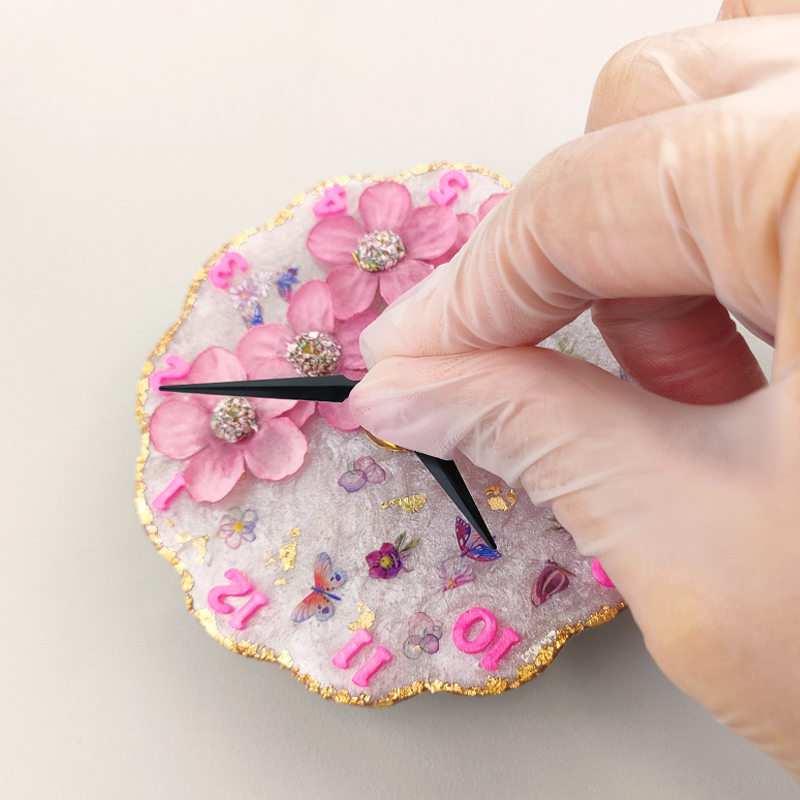
指で真ん中をつまむようにぎゅっと押してしっかりはめ込みます。
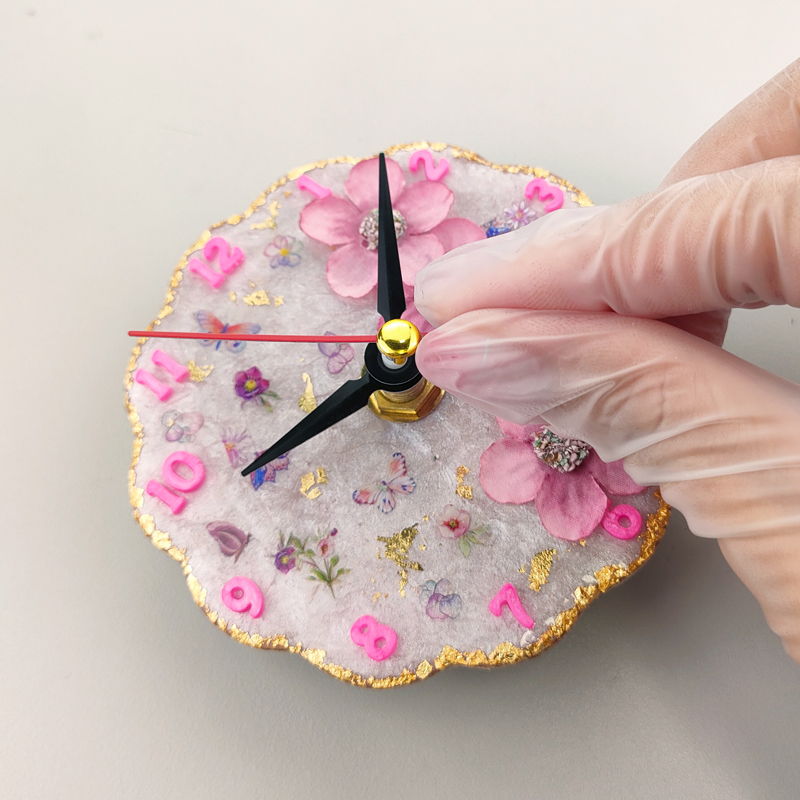
![](https://sunwardshop.com/apps/note/wp-content/uploads/2022/07/771492_31.jpg)
秒針(赤い針)を付けます。
![](https://sunwardshop.com/apps/note/wp-content/uploads/2022/07/771492_32.jpg)
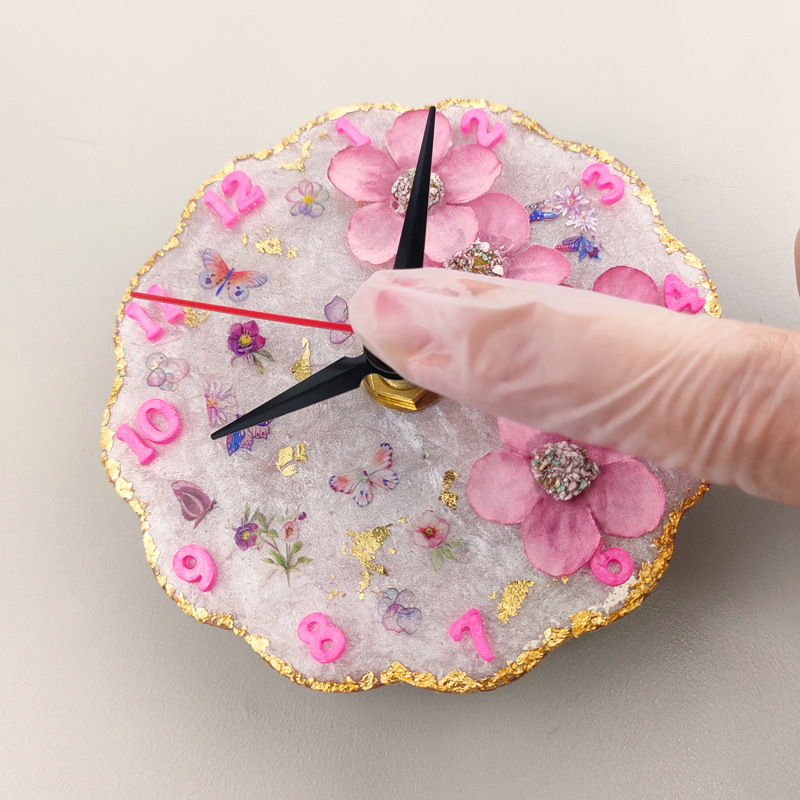
真ん中を指で押してしっかりはめ込みます。
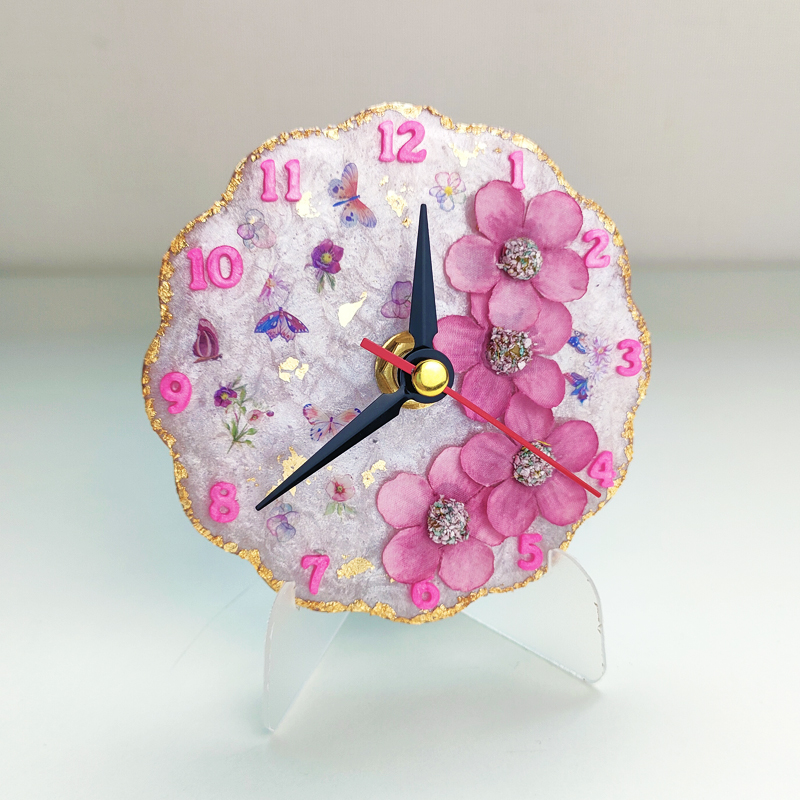
⑤完成
![](https://sunwardshop.com/apps/note/wp-content/uploads/2022/07/771492_33.jpg)
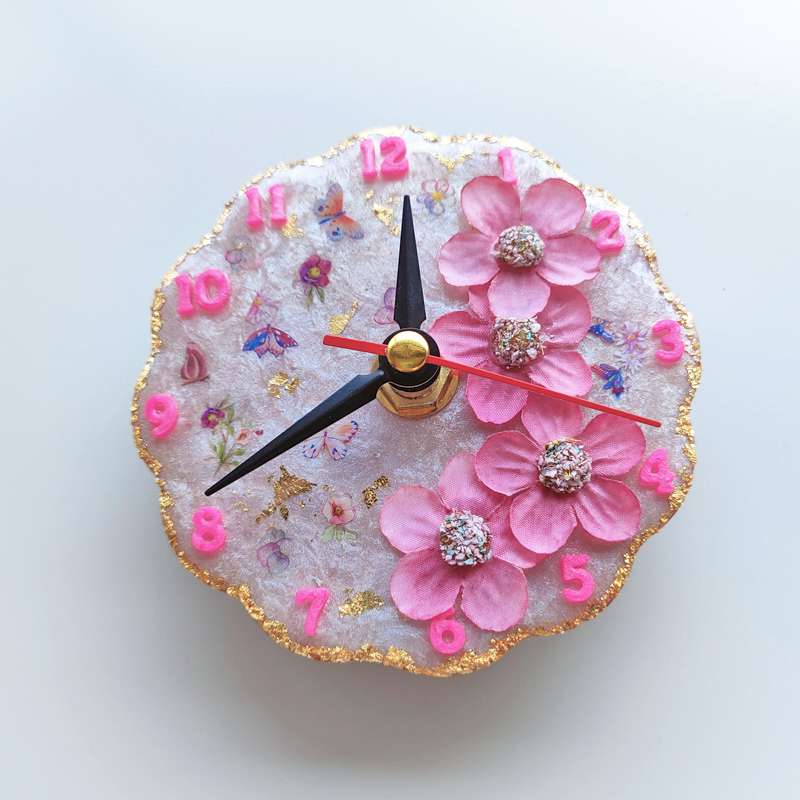
時計キットの材料で簡単にオリジナル時計がつくれるので皆さんもぜひチャレンジしてみてくださいね✨